Instead of joining the competitive fray of building general online tools, micro-SaaS products, and global platforms, a compelling and often overlooked opportunity lies in developing simple, tiny applications specifically tailored for local businesses in your immediate area or country. This strategy drastically reduces marketing stress and competition, focusing your efforts where they can yield maximum immediate value.
The most exciting aspect of this approach is the speed of development. Thanks to the power of AI coding agents, you can build these functional, real-world solutions in literally hours, not days or weeks. This speed allows for rapid iteration and service delivery, creating a strong competitive advantage.
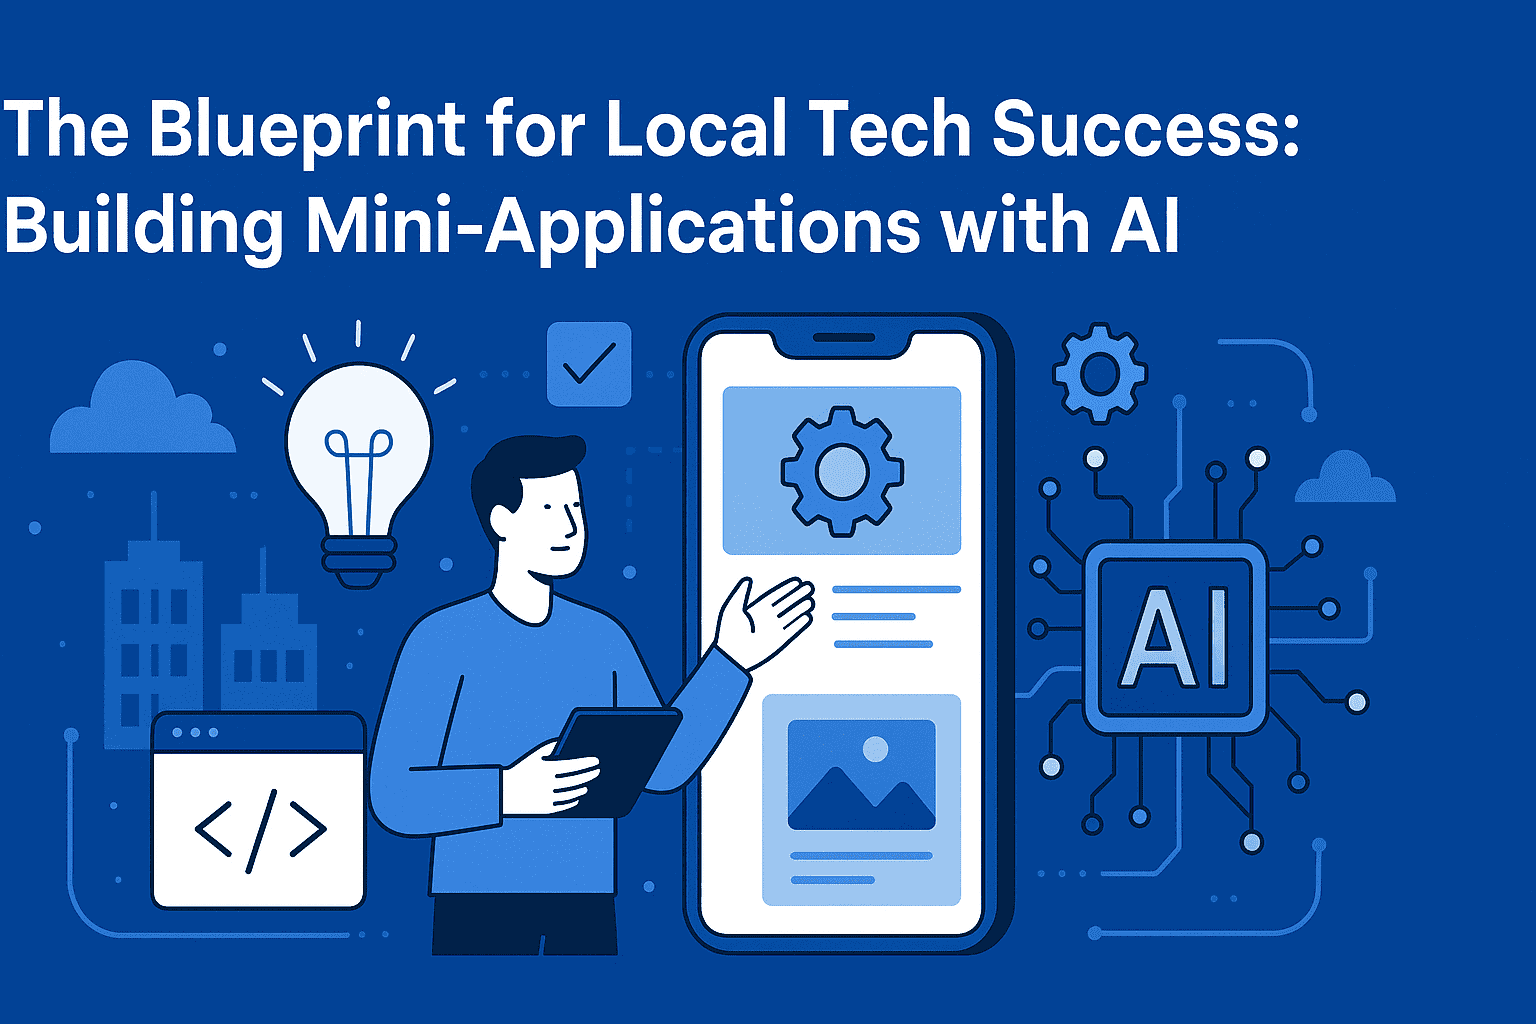
This article will serve as a practical, step-by-step guide to demonstrate exactly how you can harness modern technology—specifically AI, Python/Django, and reliable hosting—to build and deploy your own proprietary digital products for local enterprises. If you follow this process, you can have a functional, marketable product online today.
My personal interest in this model stems from a recent experience where I successfully built two applications for a local car oil company. The first was a straightforward employee and work tracking tool, and the second, a simple accounting application. Crucially, both were developed to be fully responsive, feeling and functioning like native mobile applications when accessed on a smartphone.
This venture proved the model’s viability: solving specific, common, and manageable problems for local clients with highly efficient, AI-assisted development.
🛠️ Setting Up the Foundation: The Essential Toolkit
Before writing a single line of code, we must establish a robust and efficient development environment. This toolkit is the standard for modern, professional web application development.
1. Project Management with Git
The first essential tool is a version control system. We will use Git and its desktop client for easy management.
- GitHub Desktop: Start by searching for “GitHub Desktop” on Google and downloading the application from the official site. This tool simplifies the process of managing repositories (repos) on your local machine and synchronizing them with the cloud service, GitHub.
- Creating the Repository: Open GitHub Desktop and navigate to File > New Repository. Give your project a clear name, for example,
local-mini-app, and click Create. This action initializes a new Git project structure. - GitHub Account: If this is your first time using GitHub, you will need to create a free account on https://github.com/ and connect it to your desktop application. This step ensures your code is backed up and manageable.

2. Programming Language and Environment
The core engine of our application will be built using Python.
- Python Installation: If you don’t already have it installed, go to the official Python website, navigate to the Downloads section, and install the latest stable version. Python’s simplicity and massive ecosystem make it an ideal language for rapid AI-assisted development.
3. Integrated Development Environment (IDE)
We need a powerful code editor to work efficiently.
- VS Code: Download and install Visual Studio Code (VS Code). It is a free, feature-rich, and highly customizable code editor from Microsoft.
- Opening the Project: Once installed, open VS Code and use the File > Open Folder command to open the Git repository folder you created earlier (e.g.,
local-mini-app). Your project environment is now set up.
🤖 The AI Catalyst: Installing and Prompting the Agent
The secret weapon in this development process is the AI coding agent. It transforms the speed and complexity of development.
1. Integrating the AI Coding Agent
We need to install an AI extension within VS Code.
- AI Agent Selection: Navigate to the Extensions view in VS Code (usually the square icon on the sidebar). You can choose from several excellent options:
- CodeGPT (Recommended): Search for and install CodeGPT. This is a powerful and versatile AI coding assistant.
- GitHub Copilot: A highly popular alternative known for its excellent context-aware code completion.
- Codex (OpenAI) / ChatGPT: Other options may be available depending on your preference and access.

2. The Critical Mindset Shift: Planning Before Prompting
This is the single most important piece of advice when building with AI. Never simply prompt the AI with “Build me an application about X.” This approach leads to generic, often buggy, or incomplete code.
You must envision and plan your application first:
- Conceptual Design: On paper, in a digital notebook, or on a simple design tool like Canva, outline the application’s structure. Understand the flow, the core data needed, and the required user interfaces.
- Modular Approach: Define the features and the technical stack before asking the AI to code.
For this practical demonstration, we will build a simple booking application for local shops (e.g., a barbershop, a mechanic, or a small consultant’s office).
📝 Crafting the Power Prompt: The Application Specification
The core of successful AI development lies in a meticulously detailed and structured prompt. This prompt acts as the complete specification for the AI agent.
We will use a multi-section prompt structure to leave no ambiguity:
Section 1: Core Framework and Stack Definition
We start by dictating the technical foundation.
I want to create a new Python Django web application. I have recently discovered that Python Django is one of the simplest and most powerful ways to build robust web applications rapidly with AI assistance.
Tech Stack Definition:
- I require the use of Django Templates coupled with Tailwind CSS for all styling and front-end presentation.
- The application must be built in a modular structure to ensure easy updates, maintenance, and future feature expansion.

Section 2: Architecture and Data Management
This section outlines the application’s structure, which is crucial for responsiveness.
Architecture:
- The app should have a single back-end but with two distinct front-end views: one optimized for desktops and one fully responsive for mobile devices.
- Crucially, both views must share the same back-end for a unified Source of Truth regarding data and functionality.
- I will utilize the built-in Django Administration (Admin) for all administrative and management tasks (e.g., viewing, editing, and deleting bookings). This significantly saves development time.
Database:
- The application should use SQLite (suitable for simple/local deployment) and leverage the built-in Django Object-Relational Mapper (ORM) for all database interactions.
- Use my existing virtual environment for all package installations (we will create this in the next step).
Section 3: External Services Integration
Professional applications require external services for tasks like email and deployment.
Email System (Resend):
- Use the Resend service for sending all transactional and confirmation emails. Resend (https://resend.com/) is highly recommended for its ease of integration and generous free tier (3,000 emails per month).
- During development, enable in-terminal emails. This is a great feature for local testing and debugging, as the email content will be printed directly in the terminal without needing to connect to a live email service.
Deployment (Docker & Coolify):
- The application must be containerized using Docker for easy and consistent deployment.
- The deployment target will be Coolify (https://coolify.io/), a modern, self-hosted platform that simplifies the deployment of Dockerized applications.
Section 4: Development Workflow and Planning
We guide the AI through the development process.
Development Workflow:
- The application must be built step-by-step, starting with the core project structure, followed by the database models, then the front-end templates, and finally, the deployment preparation. This incremental approach ensures stability.
- Create a project plan and checklist inside a file within the project directory. This allows for easy stopping and continuing the development process later.
Section 5: Application Details and Clarification
This final section defines the specifics of the product.
Application Description:
- Name: Simple Booker
- Core Features:
- Public Page: A simple calendar grid interface where users can view available slots.
- Booking Functionality: A form to collect the user’s name, phone number, desired date, and time.
- Admin Panel: The Django Admin panel will be used for all management tasks.
- Email System: Automatically send a confirmation email upon successful booking.
Final Instruction:
- Before you start the planning process, ask me clarifying questions to ensure you fully understand all requirements and constraints.
💻 Execution: From Plan to Functional Code
1. Creating the Virtual Environment
While the AI is processing the complex prompt, we prepare the environment. A virtual environment is crucial for isolating project dependencies.
Open your VS Code terminal and execute the following commands:
python -m venv venv
This creates a folder named venv containing a clean Python environment for your project. The AI agent will detect this and use it for dependency installation.
2. The Dialogue and Planning Phase
A critical indication of a successful, well-crafted prompt is that the AI will respond with several clarifying questions (e.g., 10-15 detailed questions). Answer these questions as accurately as possible. This dialogue ensures the AI’s implementation plan aligns perfectly with your vision.
3. Automated Building
Once the questions are answered and the implementation plan is ready, review the plan. With the plan approved, instruct the AI to “Start Building.” The AI agent will start writing the code—creating project files, configuring settings, defining models, writing views, generating templates, and adding Tailwind CSS configuration—all in a fully automated, sequential process.
4. Local Testing and Validation
Once the AI reports “Project Completed,” it’s time to test.
- Activate the Environment: Use the appropriate command for your operating system (e.g.,
.\venv\Scripts\activatefor Windows). - Run the Server:
python manage.py runserver - Access the App: Open your web browser and navigate to the local server address (usually http://127.0.0.1:8000/).
Test the booking process and check the terminal to confirm the in-terminal email feature is working. Finally, check the application’s responsiveness on mobile devices. The core functionality is now complete.
💰 The Local Mini-App Business Model: Why it Wins
While the AI builds the application, let’s explore why this business model is inherently less stressful and more profitable than building a global micro-SaaS.
1. The Competition Advantage: Zero-Sum Game Locally
When you target a local barber shop, mechanic, or small accounting firm, your competition is virtually zero. You are not competing online; you are reaching out and solving a specific, tangible problem for a targeted client.
2. The Technological Gap: Expertise as a Value Proposition
Ninety-nine percent of local business owners have little to no knowledge of AI, application development, or modern deployment. By learning to build these simple, targeted applications—which you can complete in a matter of hours using AI—you position yourself as a rare, high-value expert capable of delivering bespoke digital solutions quickly.
3. Pricing and Monetization: High Value for High Efficiency
The pricing for these custom solutions is highly dependent on your local market, but the value proposition is strong.
- Value-Based Pricing: You are solving a real pain point (e.g., missed appointments, lost accounting records, inefficient staff tracking). This warrants a premium price.
- Pricing Examples: Depending on the application’s complexity and your region, these applications can be sold for a one-time fee ranging from $500 to $1,000 or more. It is essential to research the average price for similar custom development work in your country.
- Recurring Revenue: You can introduce recurring revenue by offering a simple monthly maintenance/hosting fee (e.g., $50-$100/month) for updates, backups, and support.
4. Marketing: The Power of Direct Outreach
The primary and most effective marketing strategy for this model is direct outreach.
- Google Maps as a Lead Generation Tool: Go to https://maps.google.com/ and search for target businesses in your area (e.g., “barber shop,” “dentist,” “dry cleaner”).
- Cold Outreach: Craft a personalized cold email or make a direct phone call. Focus the pitch entirely on the specific problem you can solve.
- The Numbers Game: It is normal to reach out to 20, 30, 40, or even 50 businesses to land your first client. Consistency in outreach is key to building this type of local consultancy.
🚀 Public Deployment: Going Live in Minutes
The final step is to take the locally functional application and deploy it publicly so the client (or their customers) can access it over the internet.
1. Affordable and Reliable Hosting
We need a stable, cost-effective server.
- Contabo VPS: I recommend Contabo (https://contabo.com/) for their excellent price-to-performance ratio on Virtual Private Servers (VPS).
- Configuration: Select a Cloud VPS, choose Ubuntu as the operating system, and set a strong root password.
2. Connecting to the Server
Use an application like Termius (or PuTTY, or the native terminal SSH client) to connect to the server using the IP address, username root, and your chosen password.
3. Automated Deployment with Coolify
Coolify is an open-source, self-hosted Heroku/Netlify alternative that makes deploying containerized apps incredibly simple.
- Coolify Installation: In your server’s SSH terminal, execute the simple one-line install command provided on the https://coolify.io/ website. The setup is fully automated.
- Access Coolify: Open the provided IP address in your browser to access the Coolify setup wizard and register your account.
4. DNS Configuration
We need a human-readable address for the application.
- A Record: In your domain registrar’s DNS Management, create a new **A record**. Set the hostname (e.g.,
test) and point this record to the **IP address of your Contabo VPS**.
5. Dockerization and Push
The AI already prepared the application with a Dockerfile. Now, we build and share it.
- Install Docker Desktop: If not already installed, download and install Docker Desktop (https://www.docker.com/products/docker-desktop/) on your local machine.
- Build the Image: In VS Code, use the Docker extension to build the image.
- Push to Docker Hub: Use the Docker extension to push the newly built image to **Docker Hub** (https://hub.docker.com/).
6. Deployment in Coolify
- New Project & Resource: In Coolify, create a new Project and add a resource, selecting Docker Image. Paste the URL of the Docker image from Docker Hub.
- Configuration:
- Set the **Port** to
8000(the default port for a Django server). - Set the **Domain Name** to the subdomain you created (e.g.,
https://test.yourdomain.com/). - Environment Variables: Copy your environment variables and importantly, ensure the `ALLOWED_HOSTS` variable includes your new domain.
- Set the **Port** to
- Final Deploy: Click **Save** and then **Deploy**. Coolify will automate the final setup, including a free SSL certificate.
The application is now live, secured, and accessible globally!
🌟 Conclusion: The Future is Local and Automated
The journey from a simple idea to a fully deployed, high-quality, and robust web application for a local business can now be measured in hours, not weeks. By focusing on a niche market (local services) and leveraging the exponential power of AI coding agents, you bypass the intense global competition of the general SaaS market.
This business model—The Local Mini-App Blueprint—offers a clear path to generating significant income with minimal stress. It’s a pragmatic and immediately executable strategy. You are selling a solution to a concrete problem, not just a product.
Do not allow this valuable insight to become just another “nice tutorial” that you scroll past. Be the 1% who takes immediate action. Set up your environment, craft your power prompt, build your first Simple Booker or employee tracker, and begin your direct outreach. The opportunity to deliver high-value, AI-powered solutions to underserviced local businesses is massive and largely untapped.