09
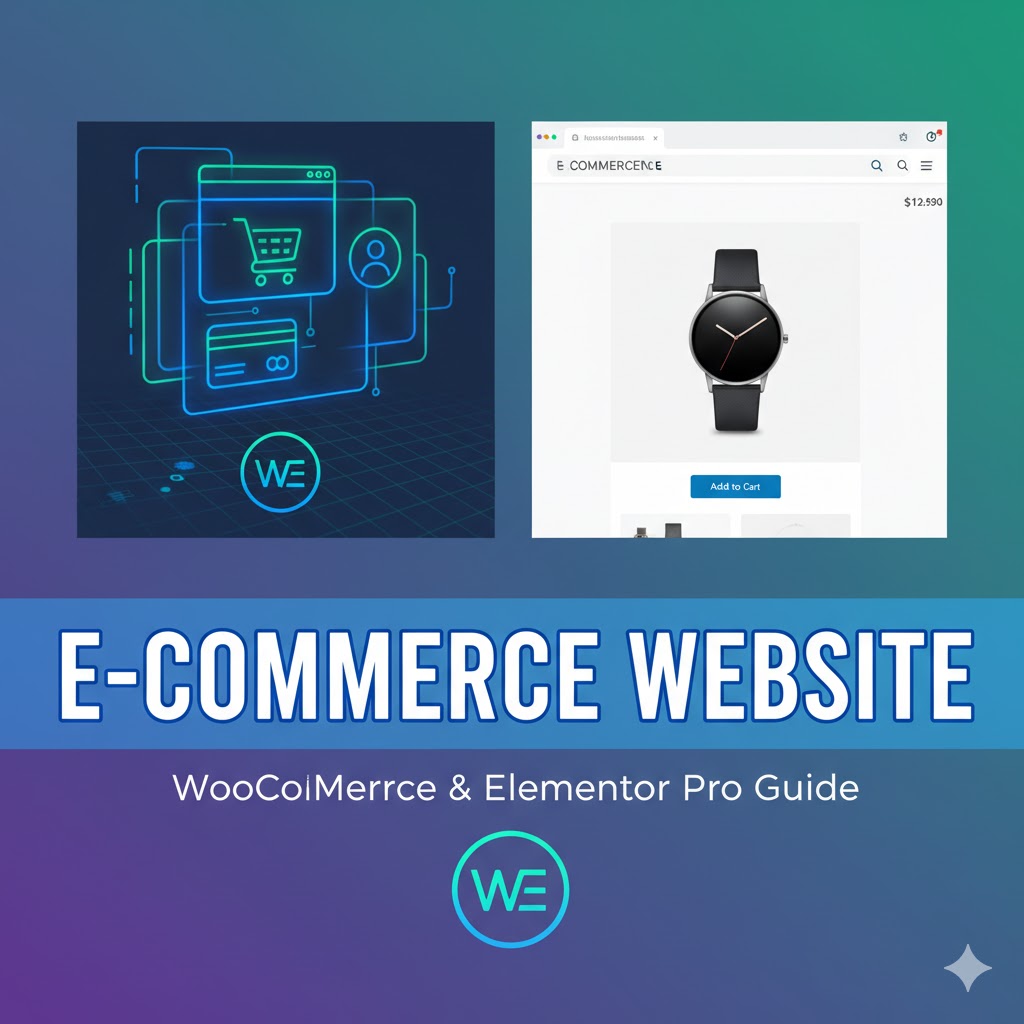
Creating a High-Quality, Professional E-commerce Website: A Step-by-Step Guide Using WooCommerce and Elementor Pro
This guide is designed to be code-free, leveraging Elementor Pro's visual drag-and-drop editor to give you complete control over every minute detail of your store. By the time you've finished, you'll be an expert in building beautiful, sales-ready e-commerce sites, perfect for selling physical, digital products, or even services.
Welcome to the ultimate guide on launching a professional, modern, and high-converting e-commerce website! Whether you're a seasoned developer or a total beginner, this comprehensive, step-by-step tutorial will show you exactly how to build a fully functional online store using the power of WordPress, WooCommerce, and Elementor Pro. We'll cover everything from initial setup and design customization to advanced e-commerce features like email marketing automation, custom payment gateways, and sophisticated product filtering.
This guide is designed to be code-free, leveraging Elementor Pro's visual drag-and-drop editor to give you complete control over every minute detail of your store. By the time you've finished, you'll be an expert in building beautiful, sales-ready e-commerce sites, perfect for selling physical, digital products, or even services.
The Power Trio: WordPress, WooCommerce, and Elementor Pro
At the core of our e-commerce build lies a powerful, flexible, and widely supported technology stack:
- WordPress: The world's most popular content management system, providing a robust, scalable, and easy-to-manage foundation for your entire site.
- WooCommerce: The leading e-commerce platform for WordPress. It’s an incredibly versatile, free plugin that turns your WordPress site into a powerful online store, handling everything from product listings and inventory to order management and payment processing.
- Elementor Pro: A premium page builder that unlocks unprecedented design and customization capabilities. With Elementor Pro, you gain access to the Theme Builder, WooCommerce-specific widgets, and advanced design controls that allow you to customize every template, from the header and footer to the intricate single product page, without touching a single line of code.
We'll also introduce a powerful ally for boosting your revenue: Omnisend, the advanced email marketing solution sponsoring this guide. Omnisend offers deep integration with WooCommerce, allowing you to set up automated workflows that recapture abandoned carts and deliver personalized offers to your customers, turning browsers into buyers.
Part 1: Setting the Foundation – Hosting, Domain, and WordPress Installation
Before we start building, you need a reliable home for your e-commerce store. Choosing the right hosting is crucial, as it directly impacts your site’s speed, reliability, and security—all vital for an online business.
Securing Your Hosting and Domain
For a professional e-commerce site, we recommend a hosting provider built for speed and powered by a robust infrastructure. A quality host provides features like free SSL certificates (essential for security and SEO), daily backups, and a Content Delivery Network (CDN) for fast loading times globally.
- Choose a High-Performance Plan: While a basic plan might suffice for a static website, an e-commerce store requires more resources. Look for Business or Cloud hosting plans that offer ample NVMe SSD storage and dedicated resources to handle traffic spikes and complex WooCommerce operations smoothly.
- Claim Your Free Domain: Most recommended annual or multi-year plans include a free domain for the first year. This will be the unique address (e.g., yourstorename.com) where your customers find you.
- Complete the Purchase: Follow the hosting provider's checkout process. Look out for any special coupons (like "WPRoads") to secure an extra discount. You will also need to provide billing and contact information to officially register your domain ownership.
Installing WordPress and Initial Setup
Once your hosting is active, installing WordPress is usually a one-click process via your host's control panel.
- Install WordPress: Choose a "clean" WordPress install—avoid pre-built websites or themes to ensure you start with a lean, fast foundation.
- Verify Domain Ownership: Check your email immediately for verification links from your domain registrar (often your hosting provider) to confirm ownership. This is mandatory to keep your site active.
- Secure Your Dashboard (Admin): Set your WordPress administrator email and a strong password. You will use these credentials to log in to your site's backend (usually at [suspicious link removed]).
- Clean House: A fresh WordPress installation often comes with unnecessary default content and plugins. For an optimal start, navigate to the WordPress dashboard:
- Plugins: Deactivate and delete all unnecessary default plugins, except for essential caching solutions provided by your host.
- Themes: Delete all inactive themes, keeping only the default one (we’ll install our preferred theme next).
- Pages & Posts: Trash the default "Sample Page" and "Hello world!" post.
- Configure Core Settings:
- General: Set your site title (Brand Name) and a concise tagline.
- Permalinks: Change the setting to 'Post name'. This creates clean, SEO-friendly URLs (e.g., [suspicious link removed]).
Part 2: Essential Tools and Design System Setup
Now that WordPress is ready, we'll install our core tools and implement a Design System to ensure consistency and save massive amounts of time on styling.
Installing Core Plugins
- Hello Elementor Theme: Go to Appearance > Themes > Add New and search for "Hello Elementor." Install and activate this free, lightweight theme. It's the perfect blank canvas, optimized to work seamlessly with Elementor Pro.
- Elementor (Free Version): After activating the Hello theme, you'll be prompted to install Elementor. Proceed with the installation and activation of the free version.
- Elementor Pro (Premium): To unlock Theme Builder and WooCommerce customization, you must install the Pro version. You can download the plugin's zip file directly from your Elementor account after purchase. Upload and activate the Pro plugin.
Implementing a Global Design System
A Design System centrally controls all aesthetic elements—colors, fonts, buttons, and spacing—ensuring uniformity and making global updates instantaneous.
- Import Global Settings: Elementor Pro allows you to import Site Settings (including colors, fonts, and custom CSS) via a JSON or ZIP file. This is where you can install a pre-designed kit (available in my free resources) that includes:
- Global Colors: Primary, Secondary, Text, Accent, and utility colors (like background light/dark).
- Global Fonts & Fluid Typography: A structured hierarchy of font sizes for titles (H1-H6) and text, often utilizing fluid typography for perfect responsiveness across all devices.
- Custom CSS Variables: Pre-set variables for things like global-radius (controlling border-radius everywhere) and global-thickness (controlling border width).
- Finalize Elementor Settings: In your WordPress dashboard, navigate to Elementor > Settings > General. Crucially, disable "Default Colors" and "Default Fonts." This forces Elementor to use the values defined in your imported global settings (or the ones you set manually).
Creating a Coming Soon / Lead Generation Page
While you build your store, a Coming Soon page serves two vital purposes: hiding the construction and capturing early leads.
- Design the Template: Create a new page template using Elementor Canvas. Include a visually striking background, an engaging headline (e.g., "Get 30% Off When We Go Live!"), a countdown timer widget, and a simple opt-in form.
- Integrate with Omnisend: Connect your Elementor form to your Omnisend account (you can start with a free account).
- Plugins: Install Autokit (a free automation plugin) to bridge the connection between your Elementor form and Omnisend.
- Workflow: Configure a simple automation in Autokit: Trigger: Elementor Form Submitted -> Action: Create a Contact in Omnisend.
- Set Live: In Elementor > Tools > Maintenance Mode, enable 'Coming Soon' mode and select the template you just created. Your site is now hidden from the public, and leads are being collected.
Part 3: Structuring Your E-commerce Site Templates
The real power of Elementor Pro lies in the Theme Builder, allowing us to customize the core templates that define the look and functionality of all e-commerce pages.
Designing the Header and Footer
Use the Theme Builder to create site-wide templates for the header and footer.
- Header (Global):
- Structure: Use a flexible container layout. Include the Site Logo (linked to the homepage), a Nav Menu widget for primary links (Shop, Categories), and vital utility icons like the Mini Cart and My Account link.
- Mega Menu: For a deep category structure, enable the mega menu feature on your main menu widget. Design a custom drop-down section with categorized links, images, or special call-to-action cards.
- Mobile Menu: Use the Off Canvas widget for mobile. Design a dedicated, full-screen menu that appears when the hamburger icon is tapped, including the logo, search bar, main links, and social icons. Hide the standard desktop menu on mobile views and vice versa via the Advanced > Responsive settings.
- Search Bar: Embed the Elementor search widget in the header. Configure it to query only products and enable the Live Results feature for instant suggestions.
- Footer (Global):
- Structure: Create a multi-column layout for key areas: logo and brand summary, quick links (About Us, Contact), policy links (Privacy, Terms), and social media icons.
- Styling: Ensure your footer is legible against the background and contains all legally required information (e.g., copyright, physical address).
Customizing the Single Product Template
The single product page is where conversions happen, so it must be meticulously designed and highly functional.
- Layout: Create a two-column layout using the Theme Builder's Single Product template.
- Left Column (Sticky): Place the Product Images widget. Use Elementor's Motion Effects to make this column 'sticky to top,' ensuring the image remains visible as the user scrolls.
- Right Column (Info): Arrange key widgets in a logical, conversion-focused order: Product Breadcrumbs, Product Title (H1), Product Rating, Product Price, Product Short Description, Add to Wishlist button, and the main Add to Cart widget (ensuring it's customized to match your site's button style).
- Functionality:
- Reviews & Details: Use the Product Data Tabs widget for the long product description, additional information (attributes, dimensions), and customer reviews.
- Upsells/Related Products: Create a section (using a Loop Carousel or Loop Grid) at the bottom for Related Products (products in the same category). Pro Tip: Create a secondary, higher-value section using the Upsells query source to suggest better alternatives.
Customizing the Shop Archive Template
This template defines the look of your main Shop page, category pages, and search results.
- Product Card (Loop Item): Create a Loop Item template called "Product Card." This is the design for every product displayed in the grid.
- Design: Include the Featured Image (linked to the product page), Product Title, Product Price, Product Rating, and a simple Add to Cart button.
- Styling: Apply background colors, border-radius, and utilize custom CSS (available in the resources) for a subtle hover effect that makes the card feel alive and interactive.
- Sale Badge: Add a small text widget using the "Product Sale" dynamic tag. Use an absolute position and custom CSS animation to create an eye-catching, floating "On Sale" badge that only appears on discounted items.
- Shop Page Layout: Create a Product Archive template.
- Structure: Use a two-column main layout: Left (25%) for filters and Right (75%) for the product display.
- Filter Sidebar: Install a free plugin like "Filter Everything" to add advanced WooCommerce filters. Configure filters for Price Range, Product Categories, Colors, and Sizes (based on product attributes).
- Product Grid: Use the Loop Grid widget. Set the Source to 'Current Query' and select the Product Card template you designed. This dynamically populates the grid with products and respects the active filters.
Designing Conversion Pages
Finalize the main site templates by creating unique, high-conversion layouts for your cart and checkout.
- Cart Page: Edit the page containing the standard [woocommerce_cart] shortcode with Elementor. Delete the shortcode and insert the Cart widget. Customize the appearance of the item table, coupon fields, and the "Proceed to Checkout" button to match your global design system.
- Checkout Page: Similarly, replace the [woocommerce_checkout] shortcode with the Checkout widget.
- Layout & Trust: Consider using the Elementor Canvas template (no header/footer) for maximum focus. Add trust signals like security badges and accepted payment method logos above the form.
- Optimization: Use the WooCommerce Customizer (Appearance -> Customize -> WooCommerce -> Checkout) to remove non-essential fields (like Address Line 2 or Phone Number, if optional for your region) to reduce abandonment.
- Thank You Page (Purchase Confirmation): This is a critical page to build customer loyalty. Create a Page template and set the condition to 'Order Received.'
- Personalization: Include dynamic content like "Thank you for your purchase, [Customer First Name]!"
- Order Summary: Insert the Order Summary widget to display purchase details.
- Clear Next Step: Add a prominent button linked to the 'My Account' page and social media icons, driving repeat engagement.
Part 4: Advanced WooCommerce Configuration
With the design finalized, we integrate essential e-commerce features for a fully operational store.
Product Creation and Management
WooCommerce supports several product types:
- Simple Product: A standard, single item (e.g., a book, a service).
- Variable Product: A product with variations (e.g., a T-shirt in S, M, L, and Red, Blue, Green colors).
- Setup: Define Attributes (Color, Size) and check the 'Used for variations' box. Then, navigate to the Variations tab to generate all possible combinations (e.g., Red-S, Red-M). You can set unique prices, images, and stock levels for each one.
- Digital/Downloadable: Check the 'Virtual' and/or 'Downloadable' box. This removes shipping fields and adds a file upload section. Access to the download is granted automatically after payment.
Shipping Configuration
- Shipping Zones: In WooCommerce > Settings > Shipping, create Shipping Zones (e.g., USA, EU, Rest of World) and assign specific countries to each.
- Shipping Methods: Within each zone, add relevant methods:
- Flat Rate: A fixed cost. You can use formulas (e.g., 10 + [qty] * 5 for a base rate plus an amount per item) for complex calculations.
- Free Shipping: Set a condition (e.g., minimum order value of €60) to unlock this option.
- Shipping Classes: Create classes (e.g., 'Heavy,' 'Fragile') in the Shipping Classes tab. You can then apply specific Flat Rates to products with these classes.
Tax and VAT Management
- Enable Taxes: Check the box in WooCommerce > Settings > General.
- Set Up Rates: In the Tax tab, go to Standard Rates. You can manually enter or import via CSV (recommended for complex regions like the EU) the applicable tax rates (VAT, Sales Tax) for every country/state you sell to.
- Tax Options: Determine if prices are entered inclusive or exclusive of tax. Define if tax is based on the Customer's Billing Address (common for EU B2C sales) or the Shop's Base Address.
Custom Login and Account Flow
For a seamless customer experience, ensure a smooth account creation and access process:
- Guest Checkout: In WooCommerce > Settings > Accounts & Privacy, choose your preference:
- Allow Guest Checkout: Customers can buy without creating an account (less friction, less data).
- Force Account Creation: Disable Guest Checkout and allow account creation during checkout (ensures all buyers have a user profile).
- 'My Account' Customization: The custom Elementor template you built ensures that when users log in, they see a beautiful, branded dashboard with personalized welcome messages, order history, and access to payment methods.
Part 5: Revenue-Boosting Integrations
Omnisend Email Marketing Automation
Omnisend’s dedicated WooCommerce integration makes it easy to set up crucial automations:
- Connect: Install the Omnisend for WooCommerce plugin and connect your account. Ensure the synchronization of Contacts, Products, and Orders is active.
- Abandoned Checkout Recovery: Activate the pre-built workflow:
- Trigger: Customer starts checkout (and provides email).
- Exit Condition: Customer completes purchase.
- Action: Send a personalized email (e.g., after 1 hour) featuring the exact products left in the cart, complete with a link to finish the purchase. Pro Tip: Add a coupon code to the second or third email in the series for maximum recovery success.
Advanced Product Promotions
- Cross-Sells: In a product's edit page (Linked Products tab), add related items under 'Cross-sells.' These are automatically displayed on the Cart page (as seen in our custom Cart template) to boost total order value.
- Wishlist Functionality: Install a free plugin like MC WooCommerce Wishlist.
- Setup: Configure the plugin to use the Shortcode option for both the single product and product listing pages.
- Implementation: Use the plugin's dedicated Add to Wishlist widget/shortcode on your Single Product template (next to the Add to Cart button) and on your Product Card Loop Item (often as a heart icon in a corner) for easy list building.
Conclusion
You have successfully constructed a fully featured, aesthetically advanced, and functionally complete e-commerce website using a powerful, code-free workflow. By leveraging the flexibility of Elementor Pro and the robust features of WooCommerce, you are now equipped with the tools needed to manage a successful online business and drive high conversions.
You've learned to:
- Set up a solid foundation with hosting and WordPress.
- Master the Elementor Theme Builder to customize every page template.
- Implement a global design system for site-wide consistency.
- Configure essential e-commerce operations: products, shipping, taxes, and payments.
- Integrate powerful tools for lead generation and revenue recovery.
Good luck with your new e-commerce venture! 🚀
External Link Resources:
- Omnisend: [Link to Omnisend's Website - Affiliate Link Used]
- Elementor Pro: [Link to Elementor Pro's Website - Affiliate Link Used]
- Hosting Recommendation (Example: Hostinger): [Link to Hostinger's Website - Affiliate Link Used]
Always refer to the official documentation for the latest versions of WordPress, WooCommerce, and Elementor Pro.
Contact
Missing something?
Feel free to request missing tools or give some feedback using our contact form.
Contact Us