10
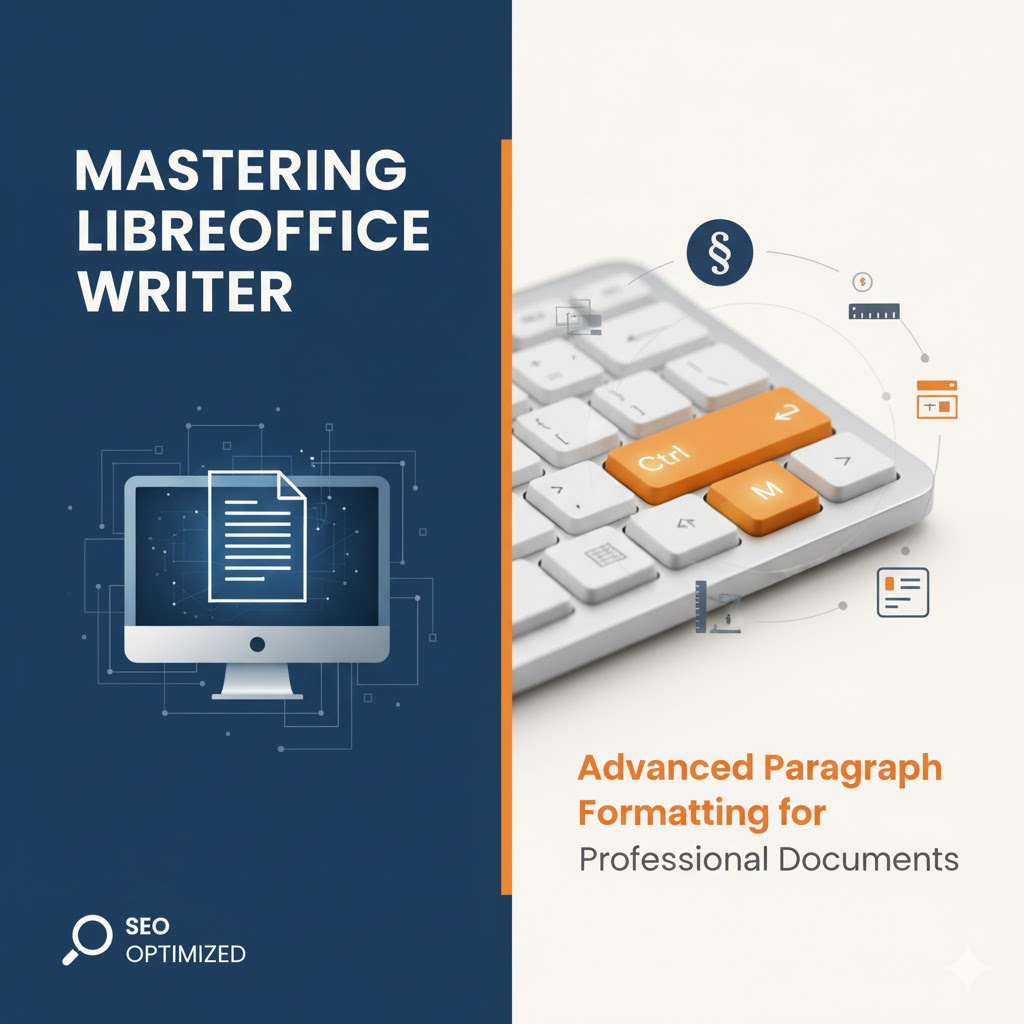
Mastering LibreOffice Writer: Advanced Paragraph Formatting for Professional Documents
Learn how to master LibreOffice Writer’s advanced paragraph formatting tools. Discover professional layout techniques, indentation tips, and alignment tricks to create visually stunning, high-quality documents.
In the modern digital environment, LibreOffice Writer stands as a formidable, free, and open-source alternative to proprietary word processors. While writing the content is the first step, transforming a simple draft into a polished, professional, and visually engaging document requires a deep understanding of its formatting capabilities. Achieving professional-grade document design—whether for an academic dissertation, a business report, or high-quality publishing—hinges on mastering paragraph formatting.
This comprehensive guide delves into the essential and advanced paragraph formatting tools within LibreOffice Writer. We will cover fundamental techniques like text selection and using the ruler for manual indents, then progress to the powerful, precise controls found within the Format → Paragraph dialog box. By the end of this article, you will have the knowledge to control every aspect of your text layout, ensuring your documents are perfectly structured, highly readable, and aesthetically superior.
The Fundamentals: Selection and Visualization
Before you can format a paragraph, you need to be adept at selecting the text and visualizing the document structure.
Efficient Text Selection
Beyond the simple drag-and-drop method, LibreOffice Writer offers rapid, mouse-based selection shortcuts that significantly speed up the editing process:
- Double Click: Double-clicking on any word will highlight only that word.
- Triple Click: Clicking three times in quick succession will highlight the entire sentence.
- Quadruple Click: Clicking four times (though this requires precision) will select the entire paragraph.
These quick clicks provide an efficient way to isolate and format specific elements of your text without manually dragging the mouse.
Activating the Ruler and Formatting Marks
To effectively manipulate indents, tabs, and hidden characters, the Ruler and Formatting Marks are indispensable.
- Displaying the Ruler: Always ensure the ruler is activated by navigating to View → Ruler. The ruler at the top and side of your document window provides visual feedback on margins, indents, and tab stops, which is crucial for precise manual formatting.
- Showing Formatting Marks: To truly see the structural bones of your document, activate the formatting marks. Go to View → Formatting Marks. This displays non-printing characters:
- A small arrow (→) indicates a Tab stop.
- A small dot (⋅) indicates a Space (from pressing the spacebar).
- A paragraph mark (↑) or similar symbol indicates where you've pressed Enter (the end of a paragraph).
- Seeing these marks is vital for troubleshooting layout issues, as unwanted tabs or double spaces can make text jump around unexpectedly. When you are done troubleshooting, simply click the formatting marks button again to hide them.
Precision Layout with Indents and Margins
The most immediate control over a paragraph's appearance comes from the Indent Markers visible on the horizontal ruler. These markers allow for quick, manual adjustment of paragraph width relative to the document margins.
Understanding the Indent Markers
On the left side of the ruler, you will typically find three small markers stacked together.
- First Line Indent (Top Triangle): Moving the top triangle alone adjusts the indent for the very first line of the paragraph. This is useful for creating the traditional paragraph starting point or for specialized hanging indents.
- Hanging Indent (Bottom Triangle): Moving the bottom triangle (or the small rectangle/square below the top triangle) moves the indent for all lines except the first line of the paragraph.
- Left Indent (The Entire Stack): If you pick up the small rectangle/square between or beneath the two triangles, you will move the entire stack simultaneously, adjusting the indent for the entire paragraph.
On the right side of the ruler, you will find a single triangle:
- Right Indent Marker: This controls how far in the text comes from the right margin.
By manually dragging these markers, you can quickly adjust the dimensions of the selected paragraph. Remember, formatting changes applied through the ruler are paragraph-specific; they only affect the paragraph containing the cursor or the paragraphs you have selected.
The Power of Alignment
Paragraph alignment dictates how text is visually organized between the left and right margins. LibreOffice Writer offers four standard alignment options, easily accessible via the main toolbar:
- Left Alignment (Align Left): The default setting. Text is flush with the left margin, leaving the right edge jagged. This is most common for general documents and web content as it's easiest to read.
- Right Alignment (Align Right): Text is flush with the right margin, leaving the left edge jagged. Often used for dates, headers, or image captions.
- Centred Alignment (Center): Text is centred between the margins, leaving both edges jagged. Used sparingly for titles, headlines, or short blocks of emphasis.
- Justified Alignment (Justify): Text is flush with both the left and right margins. Writer achieves this by adjusting the spacing between words. This creates a straight, clean edge down both sides, much like professional print and newspapers, giving a highly formal appearance.
The alignment options on the toolbar typically have an icon that visually represents how the text will appear.
The Comprehensive Control Center: Format → Paragraph
For precise, global, or highly detailed paragraph adjustments, the Format → Paragraph dialog box is the definitive control center. This is where you move beyond manual dragging to numeric precision.
1. Indents & Spacing Tab
This tab centralizes all controls for positioning and vertical separation.
- Indents: You can set the exact distance for Before text (Left Indent) and After text (Right Indent). Crucially, you can also numerically set the First line indent or select Hanging to easily create a hanging indent (where the first line is outdented from the rest of the paragraph).
- Spacing: This section is vital for document readability and academic requirements:
- Above paragraph / Below paragraph: Controls the vertical blank space inserted before and after the entire paragraph block. Using these is often cleaner than relying on multiple blank lines (pressing Enter twice).
- Line Spacing: This controls the vertical distance between the lines within the paragraph. Standard options include Single, 1.5 Lines, and Double. Academic work (like dissertations or essays) frequently requires 1.5 or Double line spacing to allow instructors space for written comments and feedback.
2. Text Flow Tab
This advanced tab is essential for managing how text behaves across pages and around objects:
- Hyphenation: Allows you to control automatic hyphenation to improve line breaks and justified text appearance.
- Breaks: Lets you force a page or column break before or after a specific paragraph, ensuring a new section always starts on a new page.
- Keep with next paragraph / Do not split paragraph: These are critical for avoiding 'widows' and 'orphans' (single lines of a paragraph stranded at the bottom or top of a page). "Keep with next paragraph" is used for titles and headings to ensure they are never separated from the first line of the content beneath them.
3. Tabs Tab
While tabs can be set manually by clicking the ruler, the Tabs dialog within Format → Paragraph offers unmatched precision and control.
- Setting Tabs: You can define a precise Position (e.g., 2 cm) and select the Type:
- Left: Text aligns to the right of the tab stop.
- Right: Text aligns to the left of the tab stop.
- Center: Text is centered on the tab stop.
- Decimal: Text aligns numerical values around the decimal point—perfect for columns of currency or data.
- Fill Character (Leader Dots): For tables of contents or price lists, you can choose a Fill character (such as dots, hyphens, or a line) that automatically fills the space created by the tab. This saves you from manually typing dots.
4. Drop Caps Tab
This feature is used for dramatic or decorative effect, often at the start of a chapter or major section.
- Display Drop Cap: Activates the feature, causing the first letter of the paragraph to become large and drop down across multiple lines.
- You can control the Number of lines the cap drops and the Space to text for fine-tuning the visual layout.
5. Borders and Area Tabs
These tabs allow you to visually differentiate or highlight a paragraph block.
- Borders: You can apply a border (a line) to any or all sides of the paragraph. You have control over the line style, width, and color.
- Area (Shading): This lets you apply a background color or pattern to the entire area occupied by the paragraph text. This is useful for creating sidebars, call-out boxes, or notes.
- Transparency: Within the Area settings, the Transparency option is key. By increasing the transparency percentage, you can fade out the background color. This is particularly useful if you have text or images layered behind the colored area, ensuring the underlying elements remain visible.
Conclusion: Elevating Your Documents from Draft to Professional Standard
The goal of document processing isn't just to transfer thoughts onto a digital page; it's to present those thoughts with clarity, authority, and aesthetic appeal. LibreOffice Writer's paragraph formatting tools—from the accessible manual controls on the ruler to the powerful, detailed settings in the Format → Paragraph dialog box—provide you with the complete toolkit to achieve this.
By mastering the efficient selection methods, utilizing the ruler for quick indents, and leveraging the Format → Paragraph options for precise control over line spacing, tabs, borders, and transparency, you can elevate your documents far beyond the standard of simple, default text. This level of intentional formatting not only enhances the document's professional appearance but also significantly improves its readability, making your content more engaging and easier for your audience to process.
Invest the time to understand and practice these paragraph formatting techniques. The result will be documents that look polished, follow any required academic or professional standard, and showcase your work in the best possible light.
Contact
Missing something?
Feel free to request missing tools or give some feedback using our contact form.
Contact Us